Headless Raspberry Pi Setup
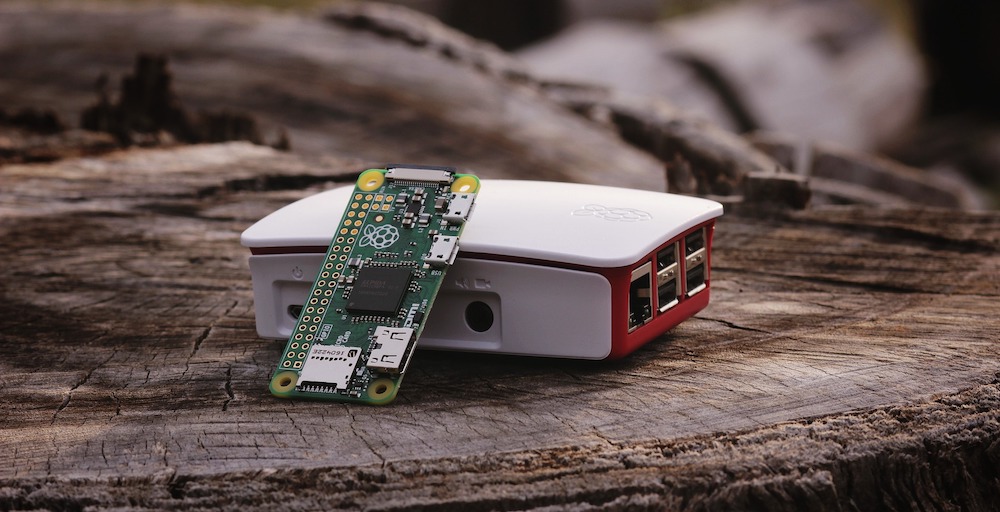 Photo by Benjamin Nelan
I have recently bought a Raspberry Pi 4 Model B and decided I should document the basic steps for future reference given I have never setup a Pi before.
In case you happen to be at the same spot as myself, I hope you find this article helpful too.
Installing the Operating System to a microSD card
I used Raspberry Pi Imager to install the operating system on the SD card (it has a variety of Operating Systems for you to choose) and I also had to enable SSH as I didn't have a spare monitor nor an external keyboard to set it up afterwards.

Raspberry Pi OS Lite was my choice as I knew in advance I was not going to need a desktop environment to access to my Pi.
Enabling SSH
After installing the OS on the SD card, we need to add an empty ssh file in it in order to have remote access via SSH.
SSH is disabled by default and creating this file is enough to turn on this option.
Running diskutil list should give us the location of the SSD card:
$ diskutil list

/dev/disk0 (internal, physical):

/dev/disk1 (synthesized):

/dev/disk2 (external, physical):  =====>>>>> this is the SSD card
I ran this step a few times and depending on your OS the SD card is umounted automatically.
My recommentation is to check whether you can access /Volumes/boot first.
This is where the empty ssh file should be created.
Should you have access to /Volumes/boot, happy days!
If not, try mounting and/or unmounting /dev/disk2 and check if you have access to /Volumes/boot again.
$ diskutil unmount /dev/disk2 # unmount the SSD card
$ diskutil mountDisk /dev/disk2  # mount the SSD card
Once you are sorted with that, simply run the following command to create the empty ssh file:
$ touch /Volumes/boot/ssh # creates the empty ssh file: this automatically enables SSH in the Raspberry Pi after booting it up.
Last but not least, eject the disk:
$ diskutil eject /dev/disk2
Connecting to the Raspberry Pi via SSH
raspberrypi.local should be Pi's default host on your local network.
If that's not the case, you'll need access to your router in order to identify the Pi's IP address.
I'm not gonna deep dive on how to do that since every router is different.
As I'm running a mesh Wi-Fi system at home I didn't have to dig much to find the Pi's IP address.
The default username and password for the Raspberry Pi are pi and raspberry.
Needless to say you should definitely change those after setting up your Raspberry Pi.
# Connect to the Raspberry Pi via SSH
$ ssh [email protected]
# when asked to enter the password: raspberry
Setting up the Raspberry Pi
Once you're in, run sudo raspi-config to start the configuration.

I didn't do much here. A few things I'd say are important to update are:
- 🔐 Password.
- 🌎 Localisation options (check
Locale,TimezoneandWLAN Country). - 🚀 Update this tool to the latest version.
Done! Your Raspberry Pi is ready to be used.
I hope that's helpful and interesting to you. 👋🏼
Did you know you can help me with this page?
If you see something wrong, think this page needs clarification, you found a typo or any other suggestion you might have feel free to open a PR and I will take care of the rest.
My entire site is available to edit on GitHub and all contributions are very welcome 🤙🏼.

Hemerson Carlin, also known as mersocarlin, is passionate and resourceful full-stack Software Engineer with 10+ years of experience focused on agile development, architecture and team building.
This is the space to share the things he likes, a couple of ideas and some of his work.