Planning the integration of tags in my blog posts
 Photo by Pexels
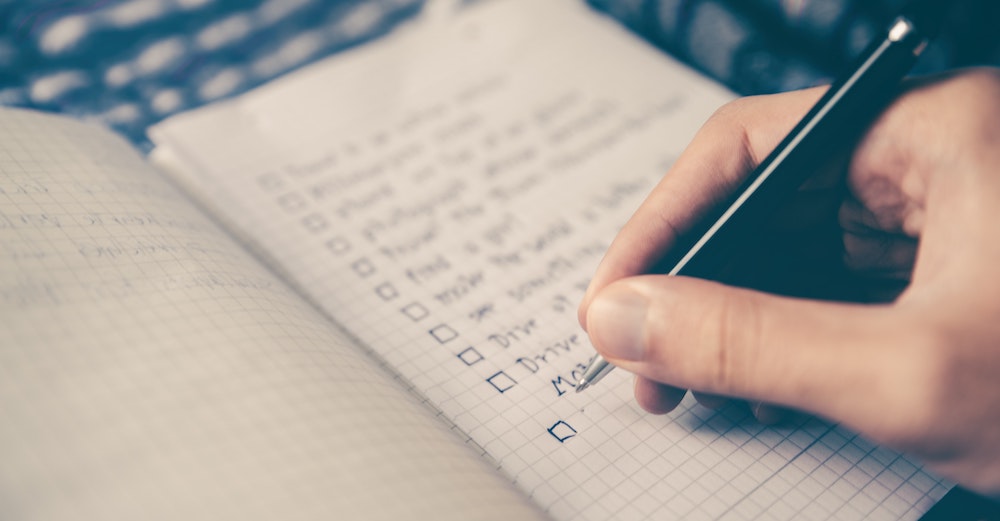
TL;DR: I’m excited to share that I have introduced tags to my blog posts and I’m going to walk you through my planning process from the day I added an item on my to-do list until the day of this writing where I’m deploying the new feature to production 🚀.
The first post from my blog dates to 24th of May 2020 and since then I’ve been creating a few tasks for things I’d like to add to this blog. They vary from tech I’d like to try out, blog post ideas or simple basic features, like tagging.
Talking about tagging, this is one of the features I’ve been tracking pretty much since day zero.
I knew how important this was going to be with more posts on my blog. I just didn’t have many blog posts nor a sufficient amount of ideas to write about at that time. So it felt like I wasn’t going to make much use of this feature and I decided to keep it on the back burner to potentially work on it in the future.
It turns out that blogging has become quite interesting to me as I’m seeing this as an opportunity to share my learnings, ideas and most importantly improve some of my written skills.
As a Technical Leader, I spend a good chunk of my time talking to people in meetings, explaining technical solutions, one-on-ones, driving meetings with my team... and I came to realise that besides writing code, I don’t actually write anymore. So blogging is my personal therapy where I get to practice some of it whenever I have free time.
Even though in this blog post I’m going explain the process of adding tags to my blog, this is also a brief summary of how I usually break down a task from start to finish.
Step number #1: have a backlog
It’s important to keep track of the things you’d like to work on somewhere and keeping them in our head is definitely not scalable. Even if we don't plan on working on it soon, it’s nice to keep a backlog of stuff.
If, like me, you have an issue tracker, start by creating an issue, add a meaningful title and description and (not required but it’s a nice to have) add labels so you can filter out and categorise items in your to-do list.
Step number #2: do the homework and start researching
I have seen tags on other personal blogs or platforms and I use Dribbble and Behance as design sources for the things I’m working on. I’m far from being a designer so I lean on these alternatives as a source of inspiration.
Planning ahead is also important as we’ll know how to best estimate such tasks. I have a very limited time to work on my blog and I need to prioritize things so I don’t get lost and waste my time working on meaningless tasks.
Step number #3: Can we split the work into smaller tasks?
This is something I personally think I’m really good at. Experience has taught me that long and big pull requests are the bottleneck of Software Engineers. The bigger the team, the harder it is to maintain these types of pull requests as the conflict hell will keep coming, especially in fast growing apps where people ship features and deploy to production many times a day.
I also use this technique to mentor other Software Engineers on my team: smaller pull requests are easier to review and we get faster feedback from other team members. Not to mention we get a nice dose of dopamine when getting stuff done. That’s a really big compensation and I’d rather see a team member finishing small chunks of work than babysitting a long live pull request or task that has never had the chance to be approved or reviewed due to the amount of time spent in “work in progress”.
Even though I dislike big pull requests, I think there’s different types of pull requests and we shouldn’t always equally apply the same rules to it. However, in most cases there’s a high chance things could be broken down in smaller chunks if planned in advance.
As I’m using Markdown and MDX to write my blog posts, I knew I had to store the tag metadata somewhere in these files.
So I decided to split the work in 3 main tasks:
Step number #4: Get your hands dirty
That’s the fun part and where we get to see the value of the feature we’re shipping.
Now that the work is broken down into 3 steps it enables me to focus on single tasks, ship faster and even work on other different things on my blog if I want to, while choosing the tags for each blog post.
Step number #5: Revisit the process and identify potential blockers
Let’s face it, there’s always room for improvements even after we start working on features. Revisiting the process is crucial to identify potential blockers, gaps, things we’ve missed in the first place and whether we’re going in the right direction.
By revisiting my own planning for adding tags in the blog posts, I realised I could also add tags to my /uses page in order to highlight the tech I'm currently working with.
Alongside with it, I found a sweet spot to write another blog post (this one) as an attempt to explain my planning process to you, reader.
Conclusion
Planning a new project or feature requires a lot of attention to details. I don’t think there’s a unique recipe as requirements change over time but keeping things simple and making constant iterations or check-ins will definitely help us in the long run.
Everything else is a potential opportunity for us to fail & learn with our mistakes along the way.
I hope that's helpful and interesting to you. 👋🏼
Did you know you can help me with this page?
If you see something wrong, think this page needs clarification, you found a typo or any other suggestion you might have feel free to open a PR and I will take care of the rest.
My entire site is available to edit on GitHub and all contributions are very welcome 🤙🏼.

Hemerson Carlin, also known as mersocarlin, is passionate and resourceful full-stack Software Engineer with 10+ years of experience focused on agile development, architecture and team building.
This is the space to share the things he likes, a couple of ideas and some of his work.